The fireplace, welcoming, warming, utilised and loved in many homes. The centerpiece of our living areas and focal point in our day-to-day lives.
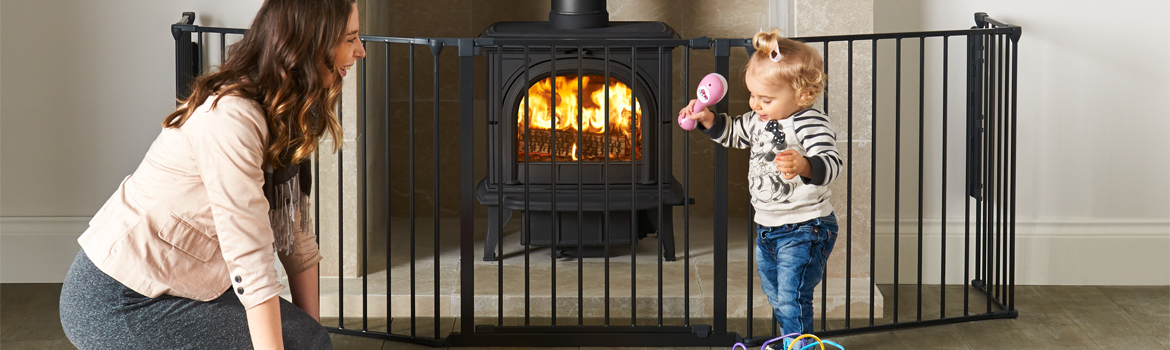
In 2021, fireplaces promise to be a true symbol of comfort. An increasingly sought after element within interior design, this year will see fireplaces climb the charts even further as a home ‘must-have’. Modern fireplaces, with an increasingly subtle design, will become a core feature in the design of living spaces. In addition to adding value to houses, a fireplace can create a cosy heart to our home environments.
Here we take a look at the most stylish interior trends recommended by designers for the year ahead. This year is all about creating an atmosphere, utilising bold colour palettes and statement furnishings. Let’s start at the top;
Mantelpieces

A mantelpiece can be both a harmonious design element and an expressive accent. Interior decoration in 2021 will be much more environmentally friendly focused. As such, many natural elements will be used as a subtle nod to ecological spaces. In the year ahead, the following mantelpiece options are set to become relevant:
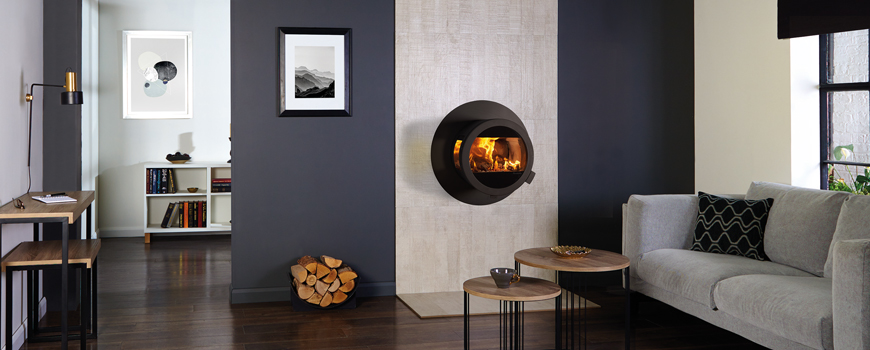
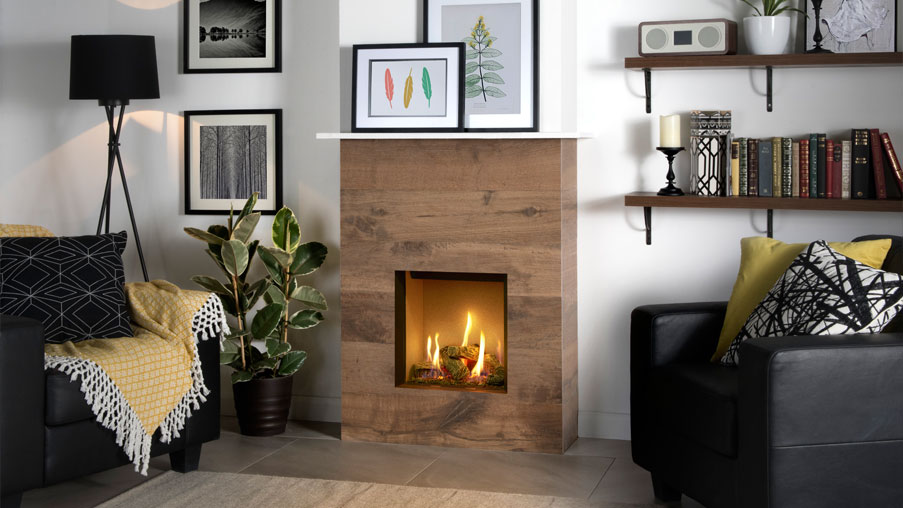
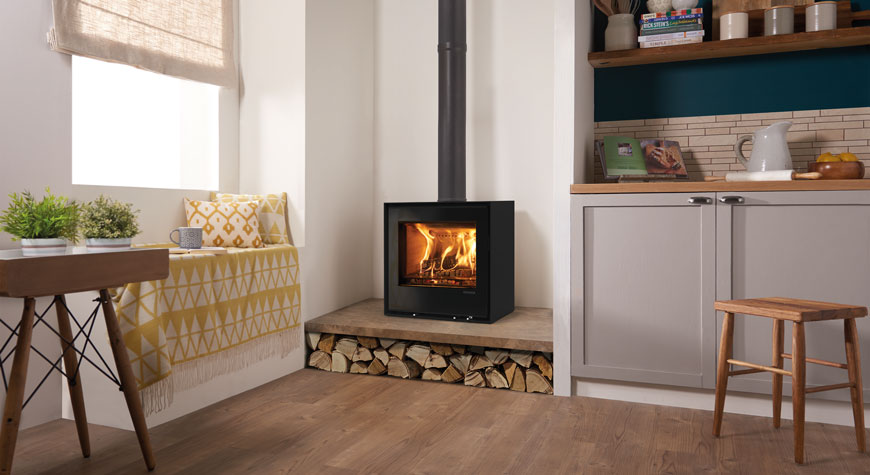
Modern: Expressive and laconic masonry, clean, strict lines, and smooth texture create a spectacular and mysterious unity with fire itself.
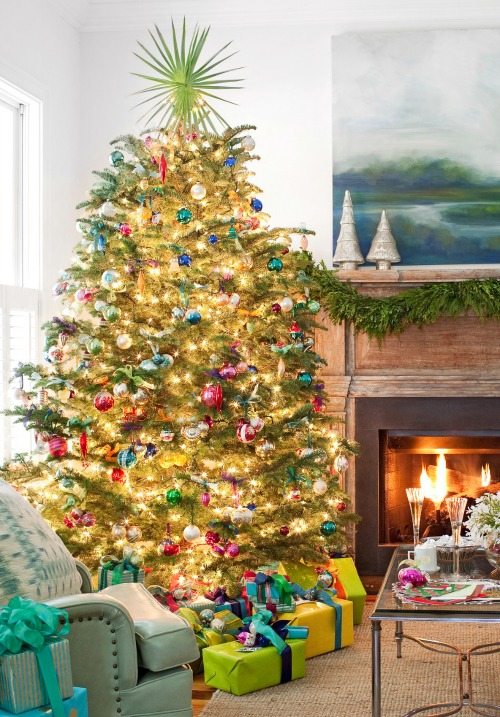
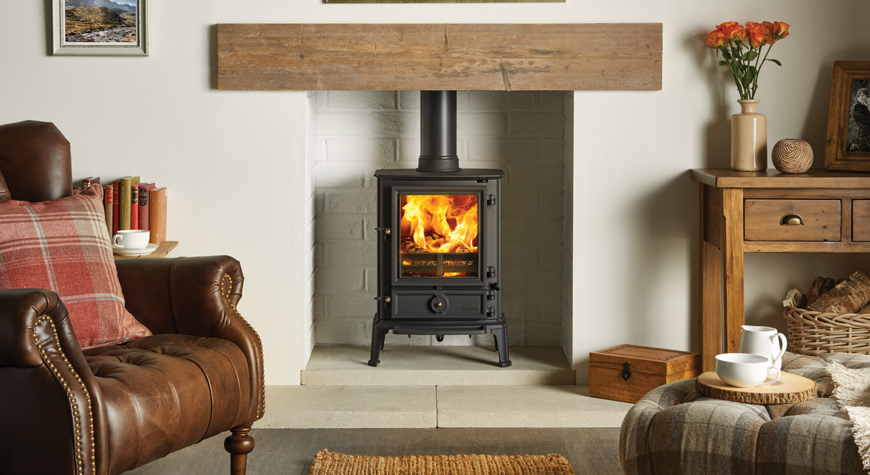
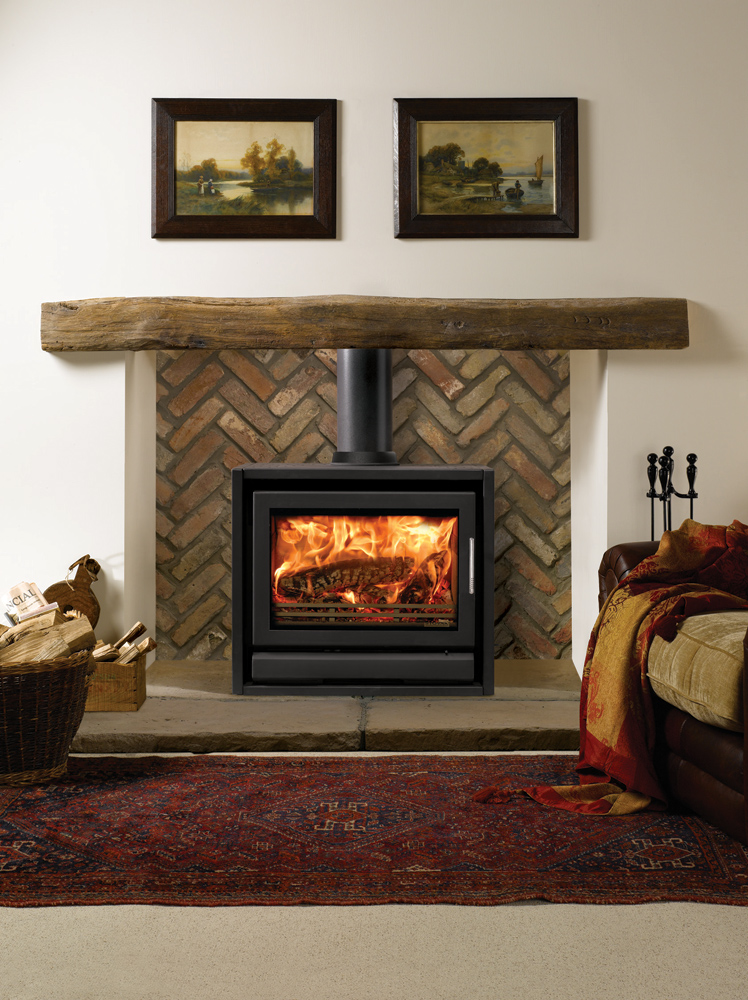
Country: A raw wood shelf looks like a guest from the past and creates an atmosphere of leisure and tranquility.
Rustic: The neat brickwork with a polished wooden shelf symbolizes the harmony of natural materials and clean lines.
The Feature Wall

Fireplaces remain the heart of any home and there are many new and refreshing ways for decorating walls around them. Stone, a number one choice in recent years, is still in demand, but in 2021 many modern materials are rising in popularity – and all of them are environmentally friendly, durable, safe, and are sure to delight with an up-to-date texture.
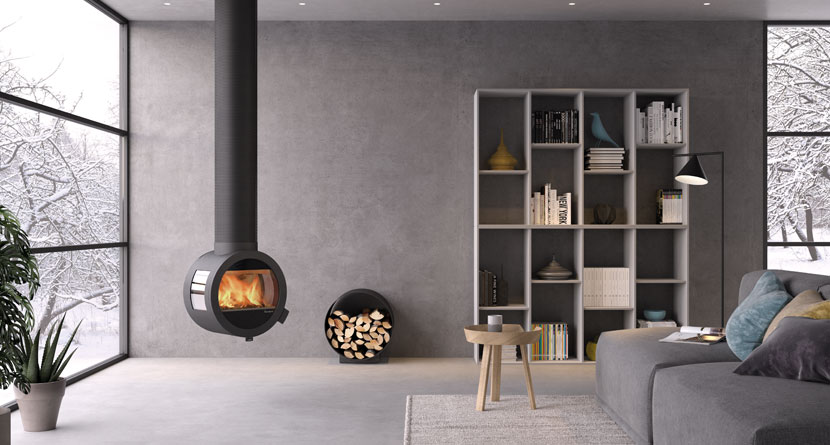
Concrete. The use of large concrete tiles gives an industrial and a slightly harsh appearance – a great choice for fans of minimalism. Rugged-looking concrete walls combined with modern, light-colored furniture will be another big trend for 2021 and is a trend that promises to last a long time.
Metal. The incredibly trendy 2021 solution will be an excellent option for a loft or industrial interior.
Glass. Reflected flames endlessly flickering – what could be more mesmerising.
Tiles for Fireplaces
Harmony and safety, variety, and reliability are just some of the reasons that prompted designers to take a closer look at tiles as a beautiful finishing material for a fireplace. You will have a lot to choose from in the coming season with specialists offer many exciting solutions:
Ceramic waves. This exquisite tile relief sets the perfect interior rhythm. However, it should be borne in mind that this design requires simple and straightforward shapes and lines of the fireplace.
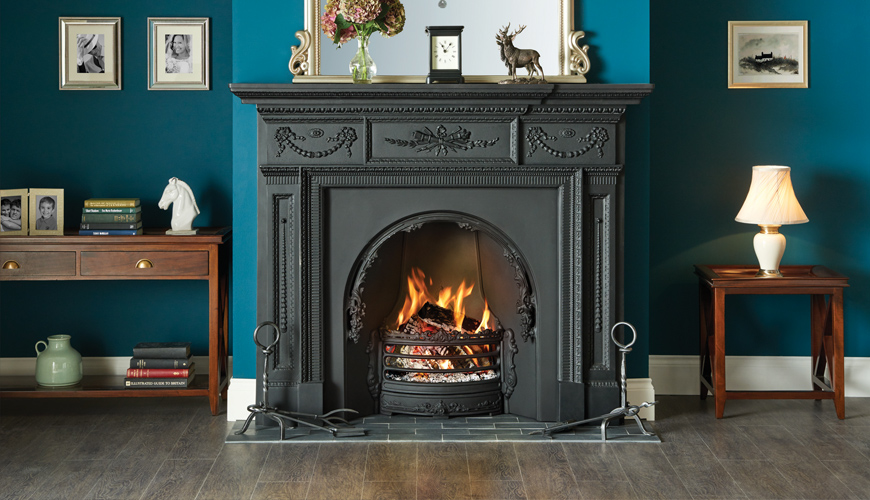
Glass mosaic. Glossy dark tiles give vintage fireplaces an ultra-modern and luxurious look.
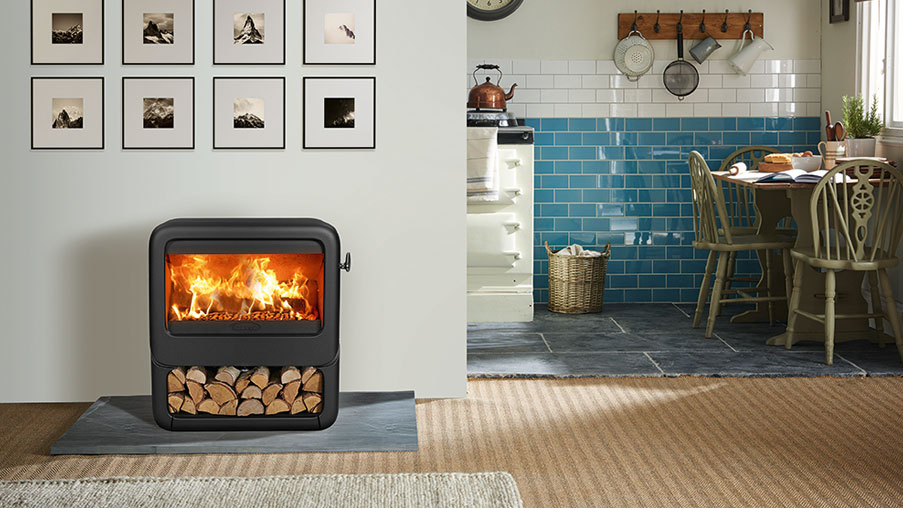
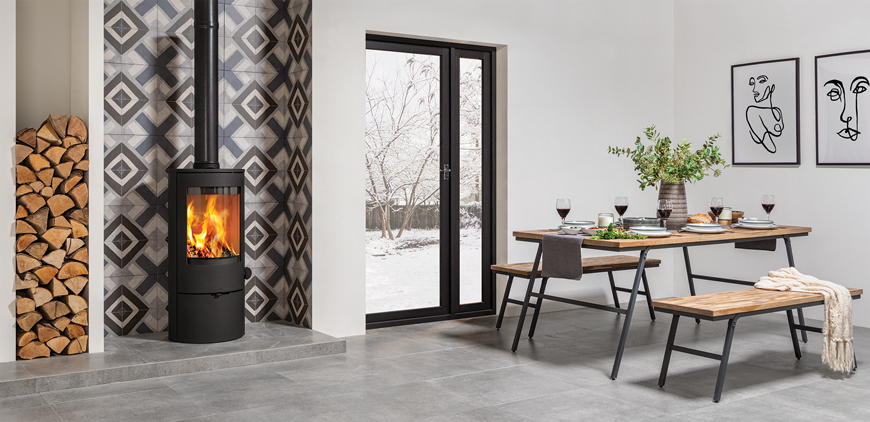
Patterned tile. A clear geometric pattern on the cladding surface is one of the hottest trends of 2021, allowing the integration of bright colours and ethnic motifs into the interior.
Marble texture. A noble stone is equally suitable for a classic living room as well as for modern minimalism.
Pebbles. Pebble tile is the trendiest eco-decor of 2021. Use it as an accent for your fireplace or create a balance with the surrounding interior.
Décor and Furnishings
After several years being used in interior decoration, Scandinavian inspired minimalism starts to be abandoned in 2021. This year, you can bet on maximalism. With a much wider range of possibilities and the ability to combine various styles this year is about making your home your own. With this new trend, you will be able to use more interesting decorative objects that are neither standardized nor simplified. Think big and bold, reflect your personality in your surroundings and go for it!
Curved shapes will also be on trend as we strive to incorporate organic and natural forms within interiors. Irreverent furniture and decoration elements, from soft downy chairs to curved coffee tables, large reflective mirrors and statement art pieces will be a part of this.
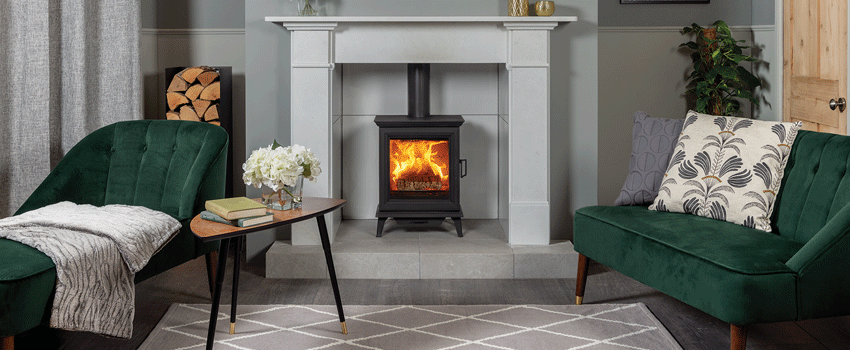
Velvet will be a widely used interior decoration material by 2021. Vinatge upholstered armchairs and velvet ottomans or cushions are excellent options to make your home more elegant and trendy. Team this fabric with the seasons must have geometric and tribal patterns to embrace another major interior design trend of the year. These patterns will help bring different areas of the home to life and turn them into more fun and welcoming spaces.
Colours.

The return of the use of black will be one of the most prominent design trends of 2021. Widely used in both furniture, fittings and finishes as well as walls. At first we may think that using black on the walls is a very risky decision, but when used with clear contrast, black can even help to make the space visually larger.
Within the trend of natural and ecological elements arises the tendency to use earth colors. If in recent years, gray has been the most widely used color in interior design, by 2021 it will be the most grounded colors teamed with deep rich greens. Used either as the main colour palette or incorporated using vertical gardens and home plants in abundance. Being a plant lover has never been so fashionable.