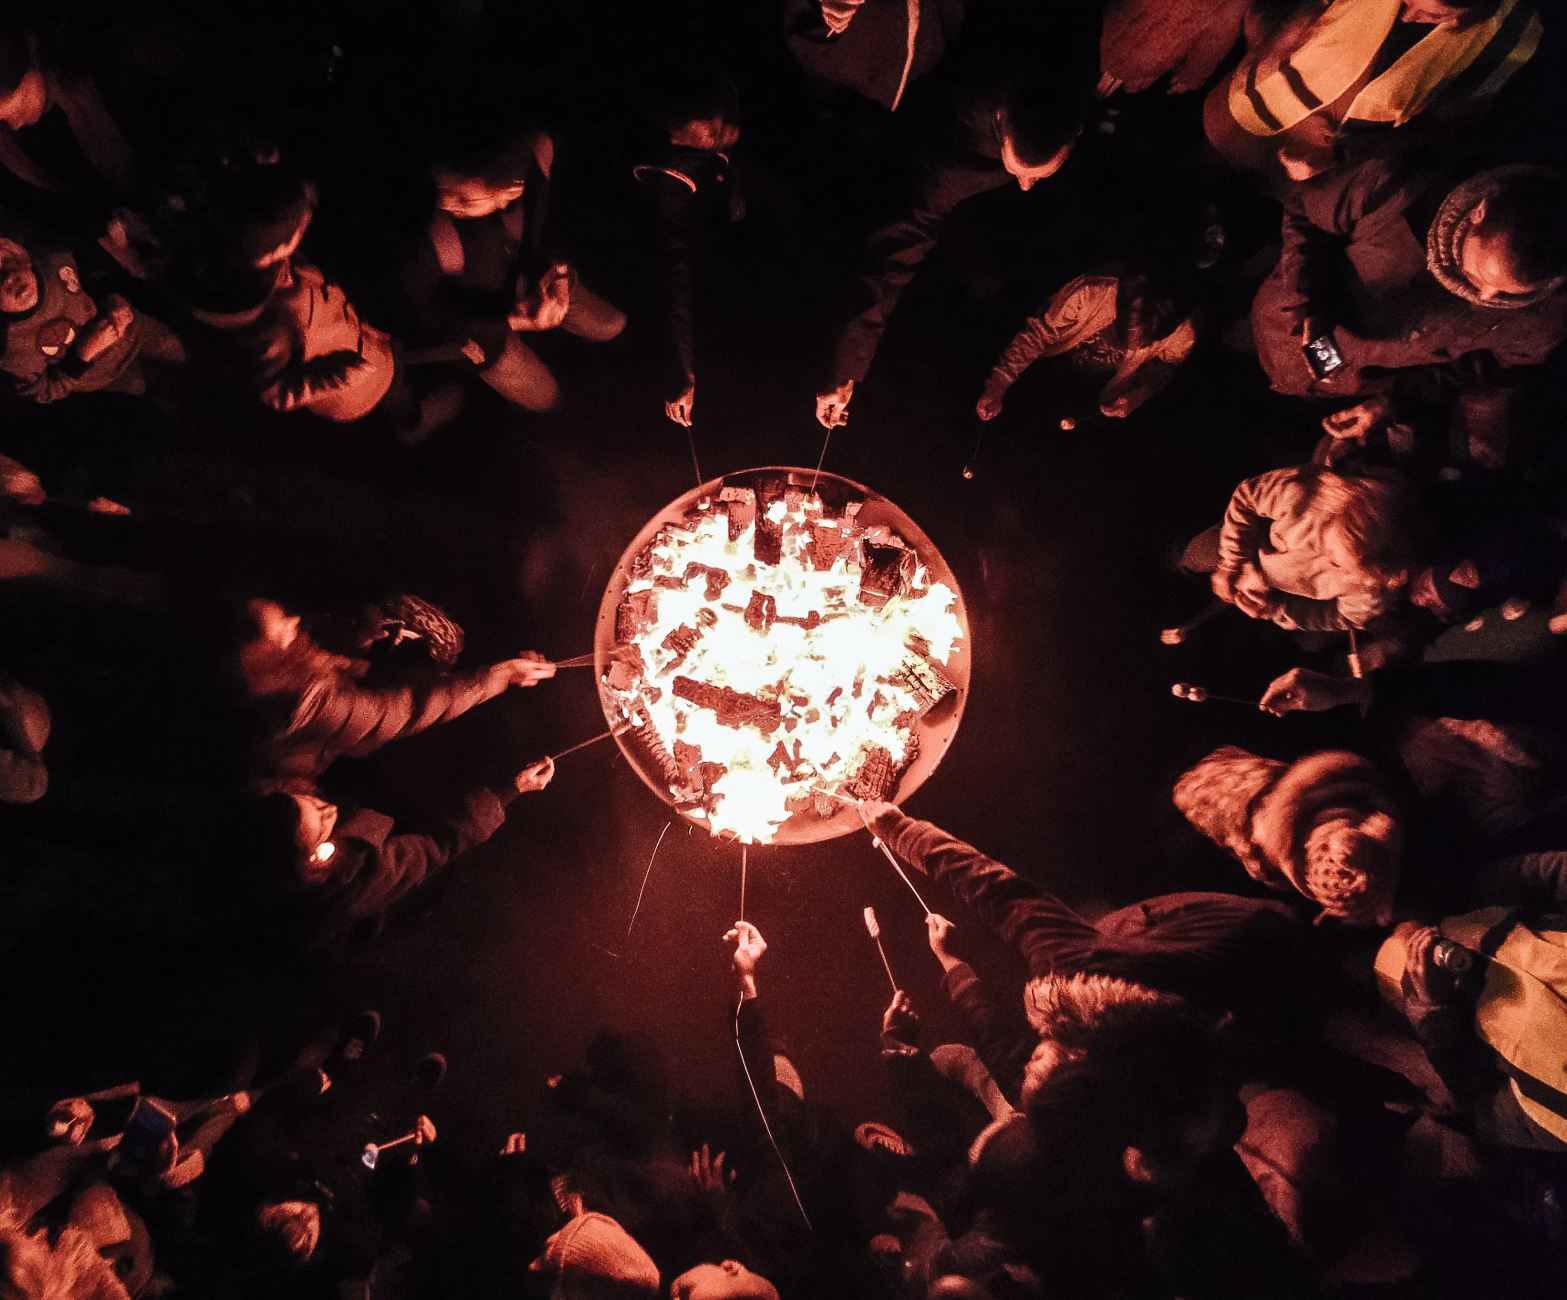

Cooking over a campfire or fireplace is a timeless tradition that goes beyond marshmallows and hot dogs on sticks. If you’re looking to elevate your outdoor cooking game, you’ll be thrilled to discover the plethora of mouth-watering dishes you can prepare using nothing more than a trusty stick. In this blog, we’ll explore various delectable options for cooking on a stick, from savoury to sweet, to make your fireside dining an unforgettable experience.
CAMPFIRE SKEWERS

Skewers are perhaps the most versatile tool for campfire cooking. Load them up with marinated chicken, beef, or shrimp, combined with colourful bell peppers, onions, and mushrooms.
Don’t forget to season and baste your skewers with your favourite sauces or spices for added flavour.
CAMPFIRE PIES
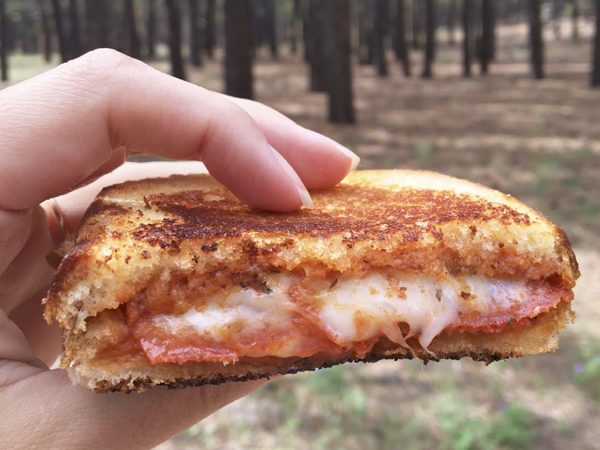
These handheld savoury treats are like the love child of a sandwich and a calzone.
Fill two slices of bread with your choice of ingredients like cheese, ham, tomatoes, and even pizza sauce. Squash them together and toast them on a stick for a warm, gooey delight.
CAMPFIRE CORN ON THE COB

Wrap a fresh ear of corn with foil and secure it with a stick in one end.
Roast it over the campfire’s coals until the corn is tender and slightly charred. Finish with butter, salt, and your favourite seasonings. We love a little paprika on ours!
CAMPFIRE CINNAMON ROLLS

A sweet twist on campfire cooking! Skewer pre-made cinnamon roll dough and toast it over the fire.
Once the rolls are golden brown and caramelized, drizzle them with icing for a warm, gooey treat.
Brioche buns and pre-made donuts also work well!
CAMPFIRE FRUIT KEBABS
Thread a mix of your favourite fruits onto skewers, things like pineapple, strawberries, and banana slices work best.
Grill them over the campfire for a few minutes until they’re slightly caramelized, creating a delightful contrast between the sweet fruit and the smoky flavour.
Have a caramel or chocolate dipping sauce ready to dunk the warm fruit into or add to bowls of vanilla ice cream!
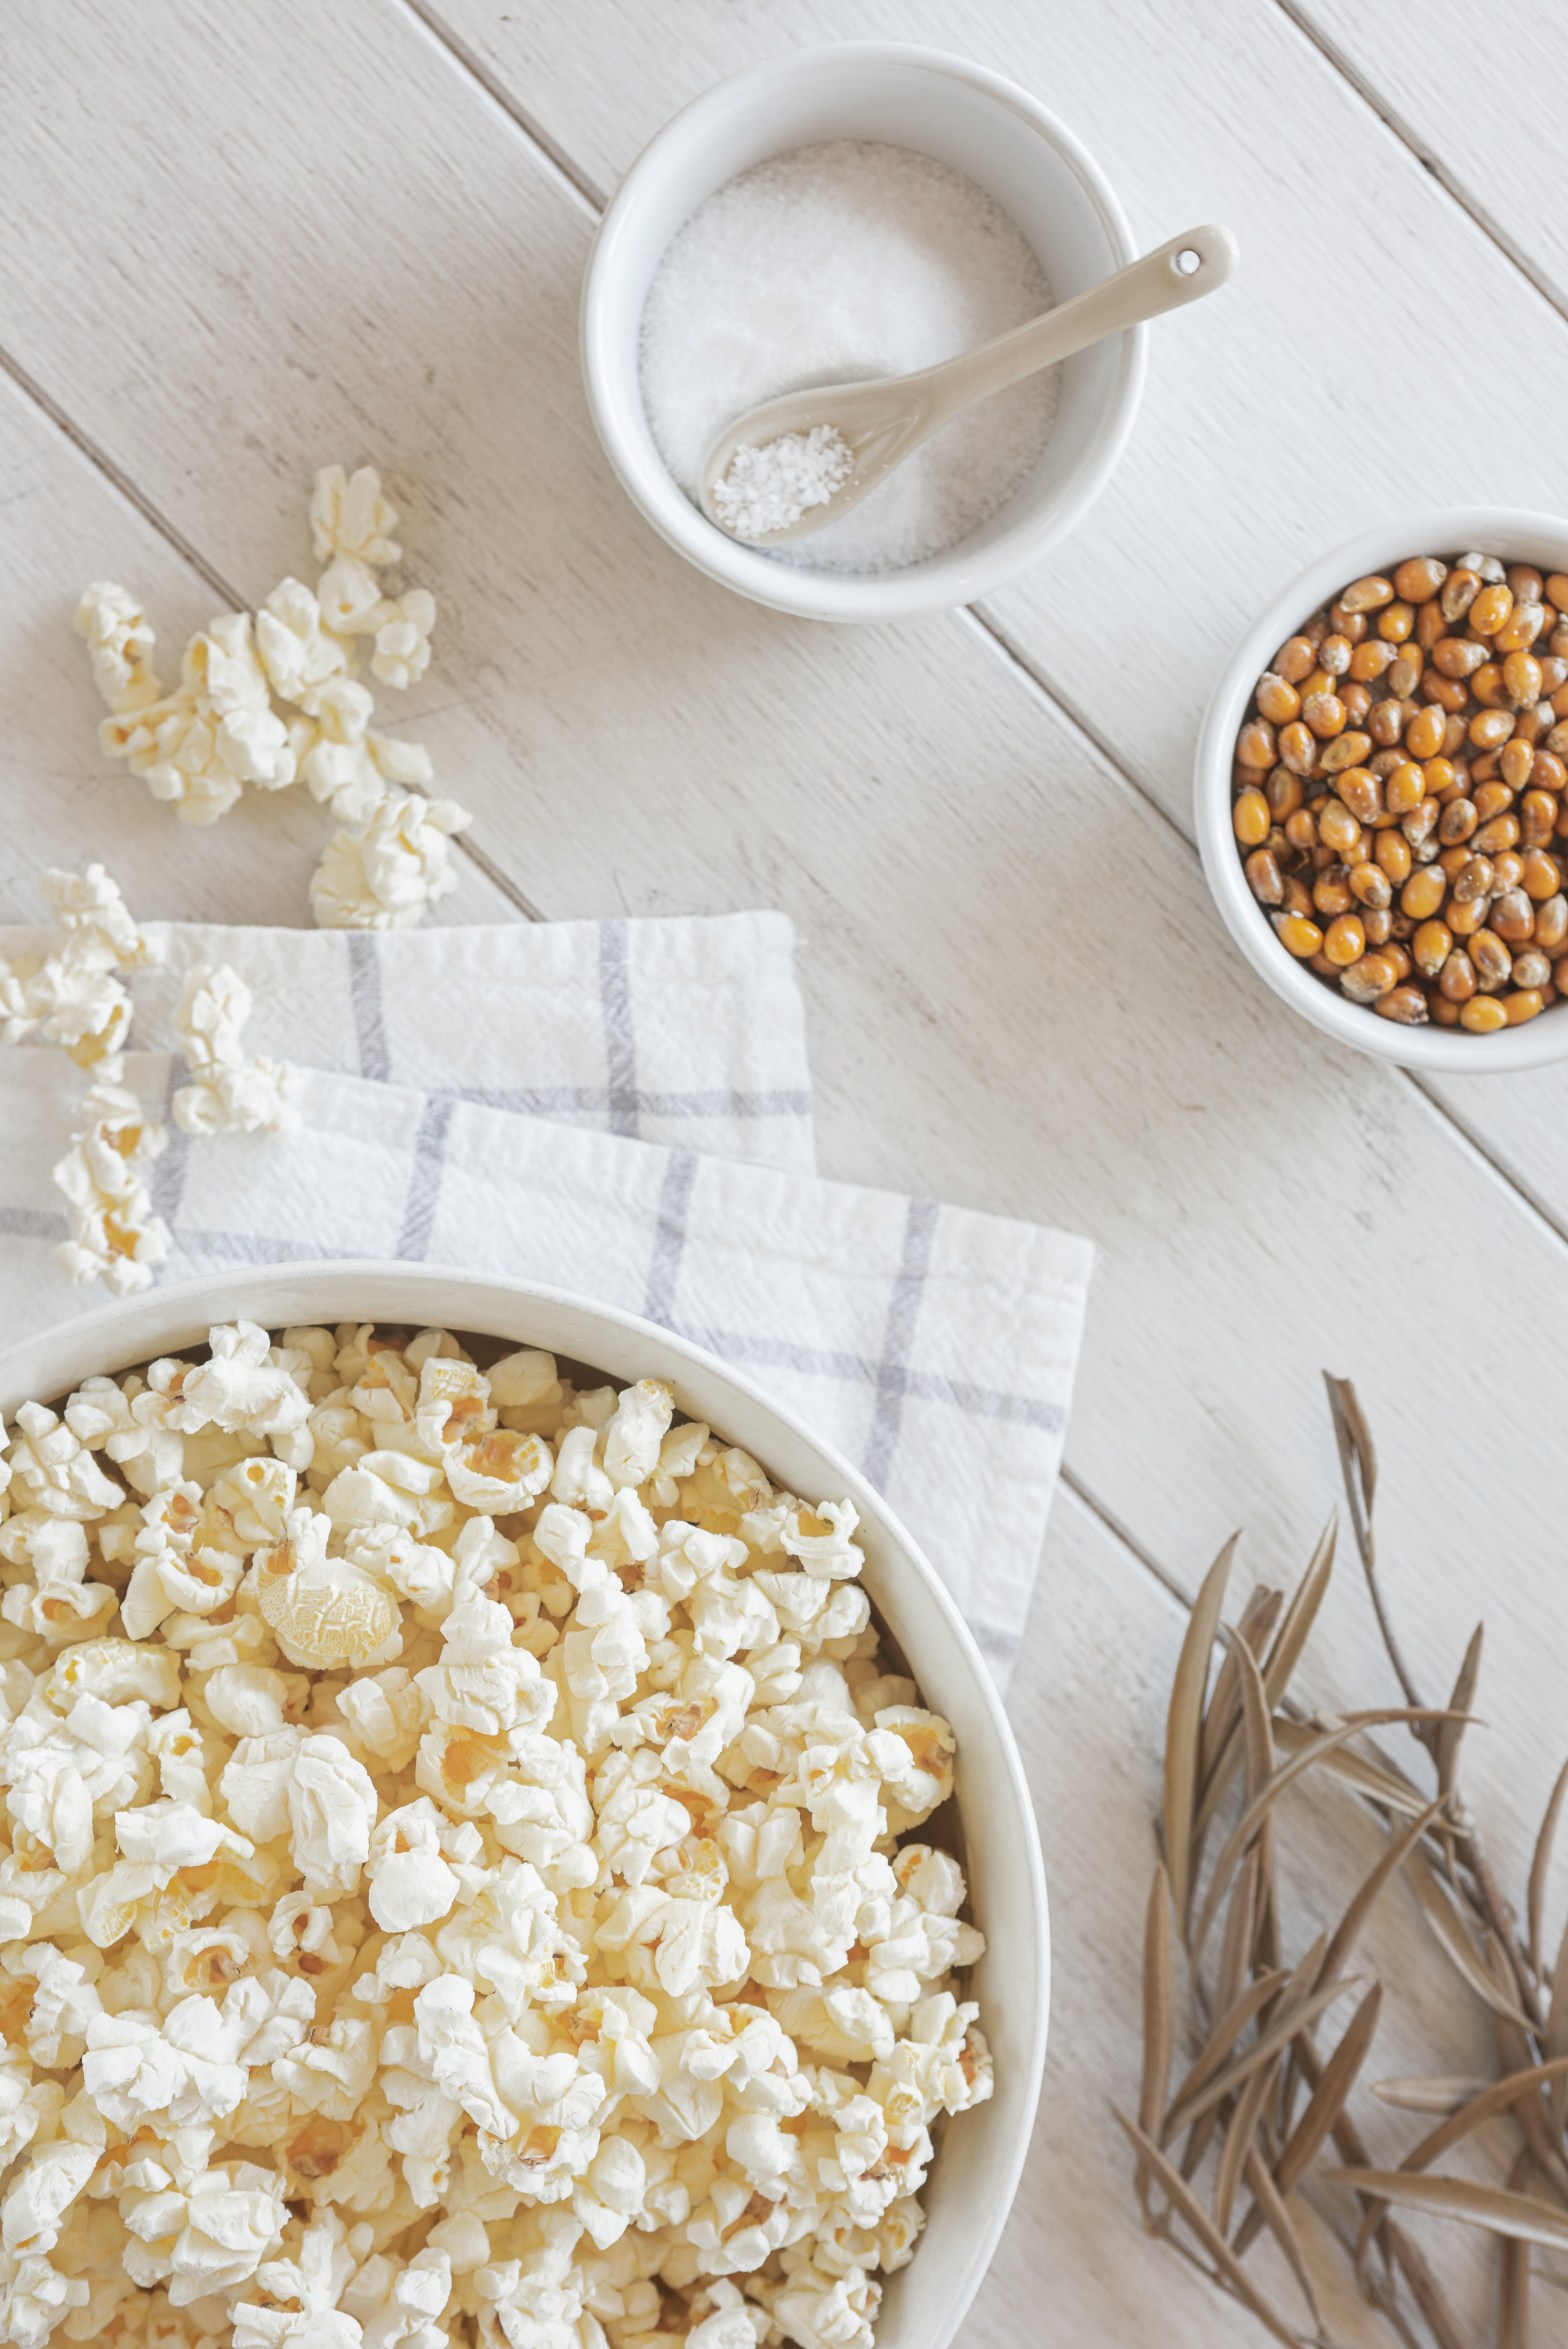
CAMPFIRE POPCORN

For a unique campfire snack, put popcorn kernels in a foil packet and place it on a stick. You need quite a strong and long stick for this bake.
Hold it over the fire until the kernels start popping. Shake it periodically to ensure even cooking.
For more popcorn ideas, check out our blog dedicated to this versatile ingredient!
CAMPFIRE SAUSAGES
For a hearty campfire meal, simply skewer sausages, and roast them over the fire.
Serve with grilled onions and mustard in crispy sub rolls for a classic campfire experience.
CAMPFIRE S’MORES CONES

One of our all-time favourites! Fill an ice cream cone with marshmallows, chocolate chips, and crushed crackers. Add jam or berries for a fruity twist on this classic flavour combo!
Wrap the cone in foil and heat it over the campfire until everything inside is melty and delicious.
Cooking on a stick over a campfire or fireplace is more than just a cooking method; it’s an experience. Whether you’re sharing stories around the flames with friends or enjoying a peaceful moment in the great outdoors, these stick-based recipes add a delightful twist to your culinary adventures. So, next time you’re camping or simply gathered around a cosy fireplace, grab a stick, get creative with your outdoor cooking, and make some memories!