Feeling torn between a gas stove and a wood-burning stove? You want the look of a traditional wood-burner (and you know they smell great!) but perhaps you’ve previously had a home with an open fire and struggled with the maintenance.
In this blog we’ll break down the pros and cons of each stove type to help you make an informed decision.
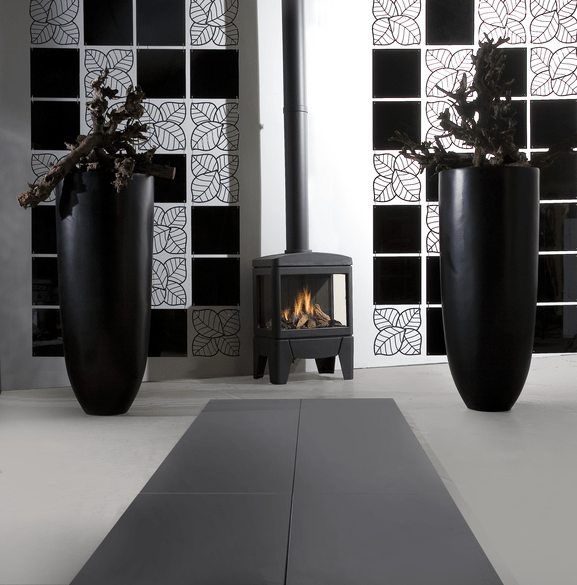
GAS STOVES

Pros:
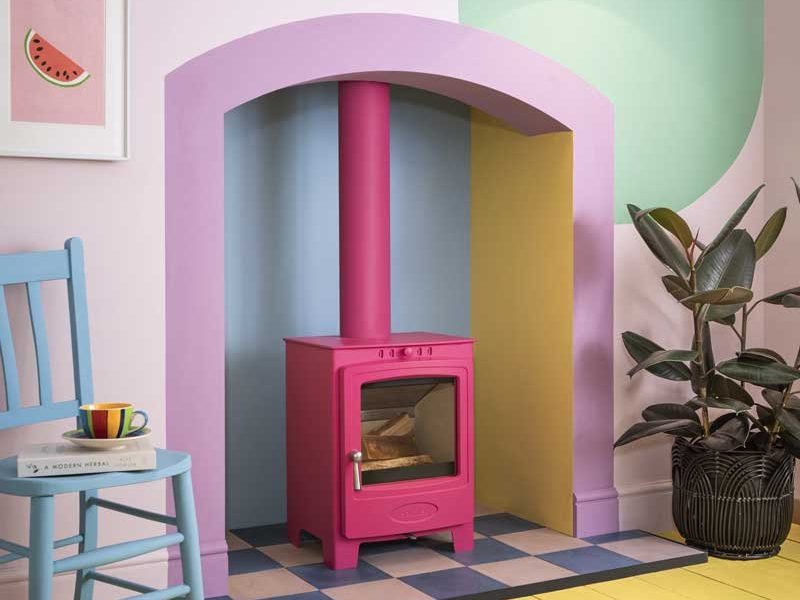
1. Versatility in Design:
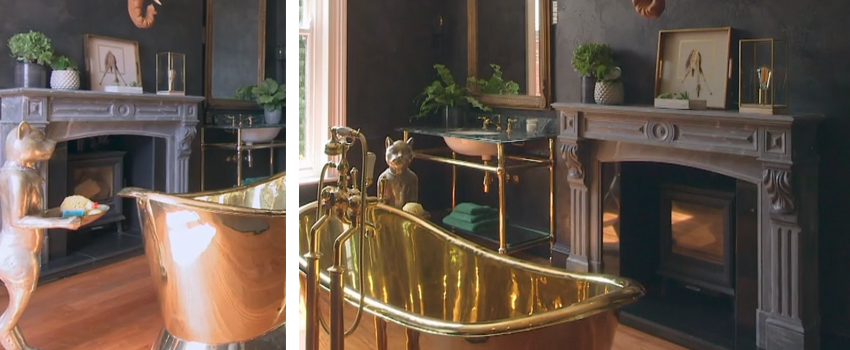
Gas stoves come in a variety of sizes and styles, catering to diverse interior preferences. There are even models that replicate the traditional wood-burning stove look.
2. Convenience at Your Fingertips:
Instant heat is just a switch away. Gas stoves are incredibly convenient, especially on chilly mornings when you need warmth without the wait.
3. Adjustable Heat and Flame Settings:
Enjoy control over your heating experience with adjustable heat and flame settings. Fine-tune the ambience to suit your mood.
4. No Smell or Dust:
Bid farewell to the characteristic scent and dust associated with wood burning. Gas stoves offer a clean and odour-free alternative.

Cons:
1. Lower Output Than Wood Stoves:
While they radiate heat efficiently, gas stoves generally have a lower output compared to their wood-burning counterparts. They work well as a complement to central heating.
2. Not Ideal for Large Spaces:
Gas stoves may not be the go-to choice for large open rooms or expansive spaces, as their heating capacity has limitations.
3. Environmental Impact:
Burning fossil fuels will always pose an environmental concern. If eco-friendliness is a top priority, this could be a drawback.
4. Potential for Increased Operating Costs:
Fluctuating gas prices may lead to increased operating costs, making it pricier to run the stove for extended periods.
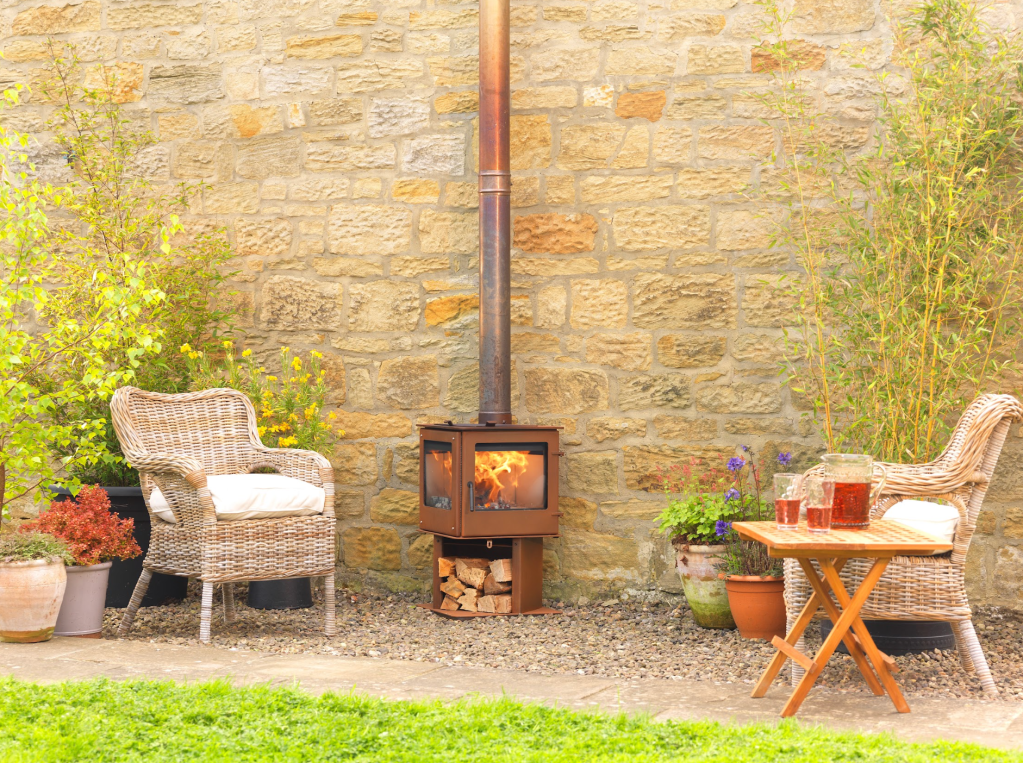
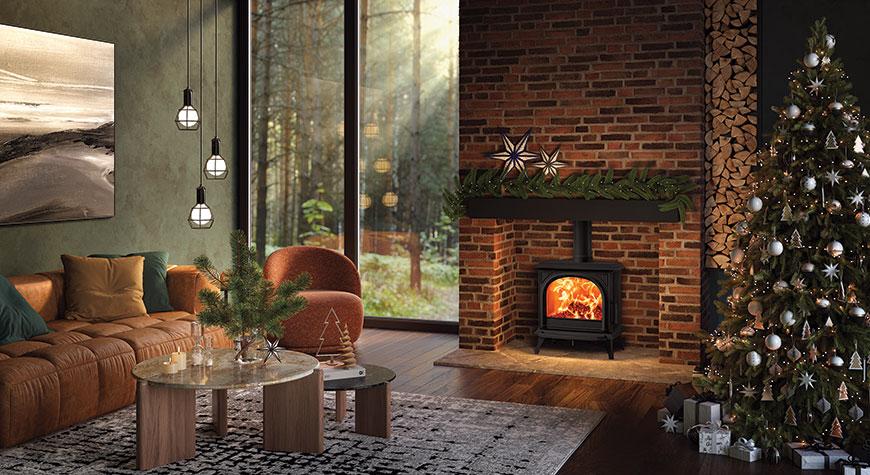
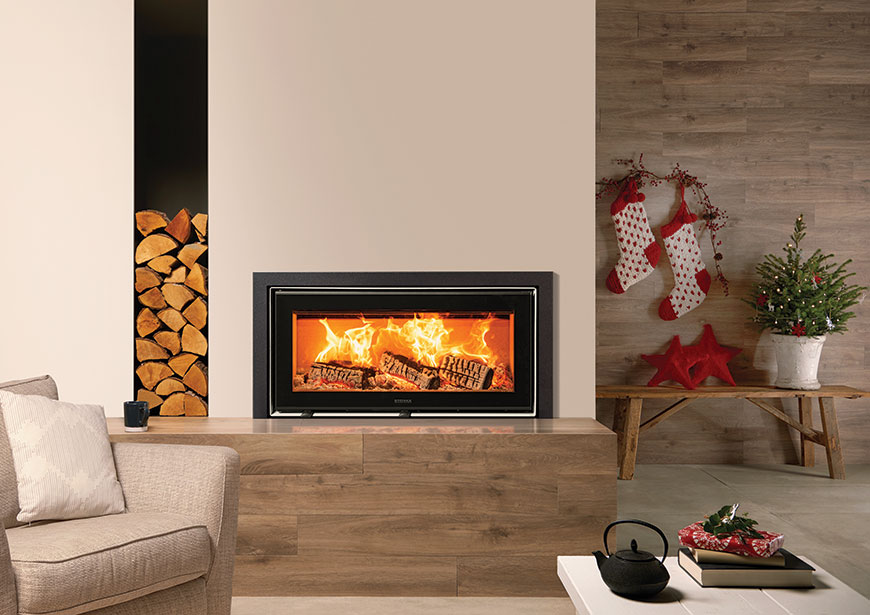
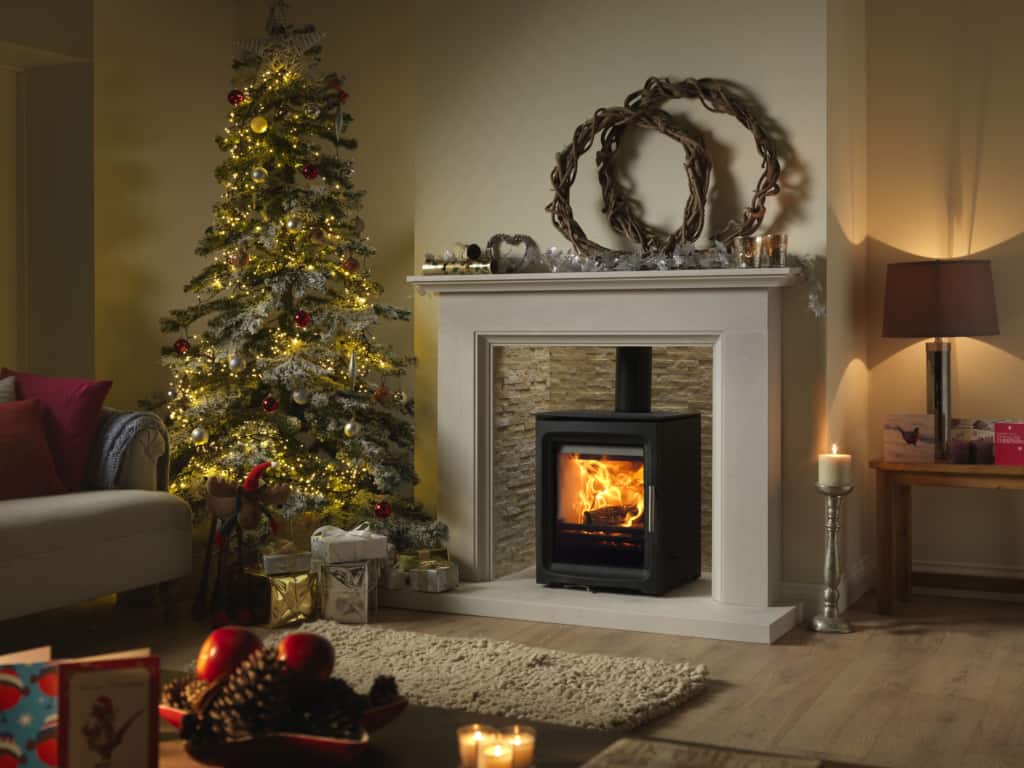
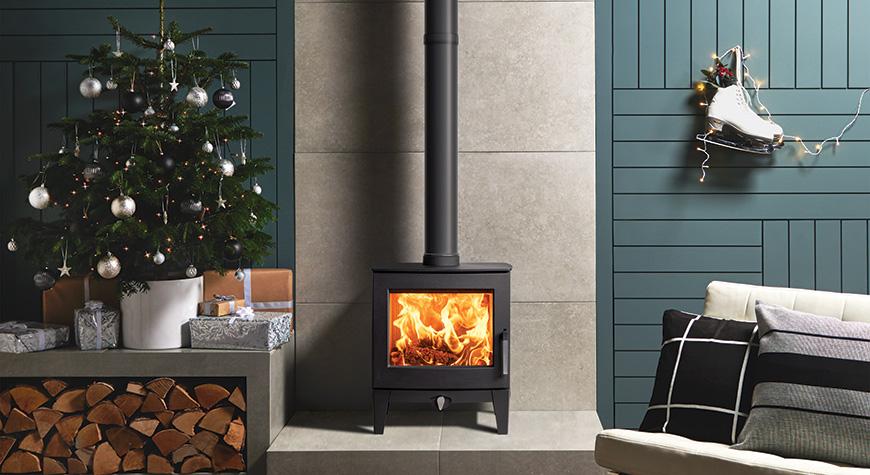
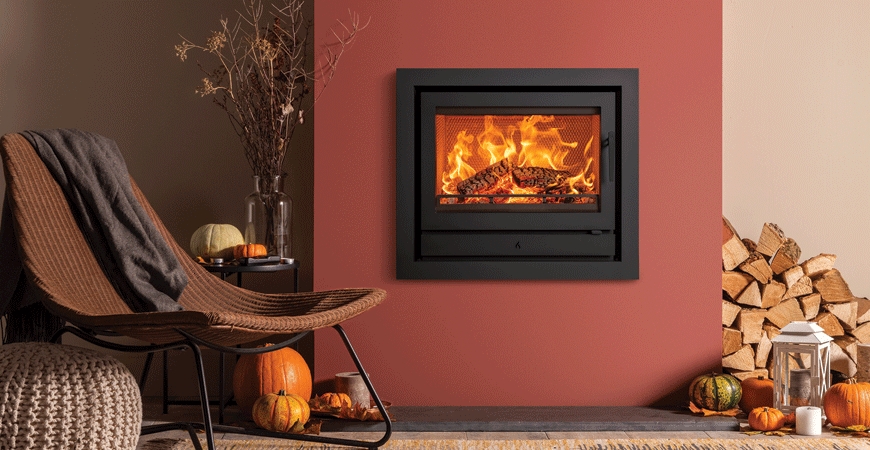
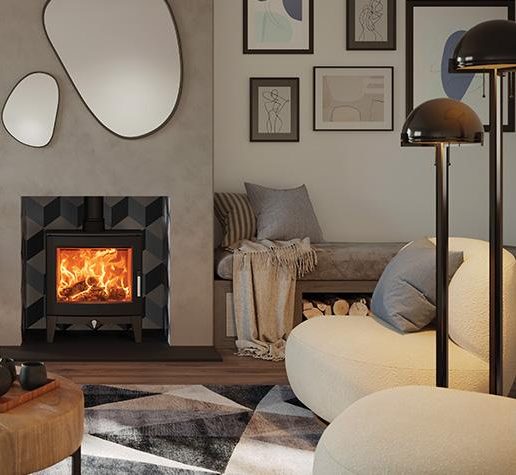
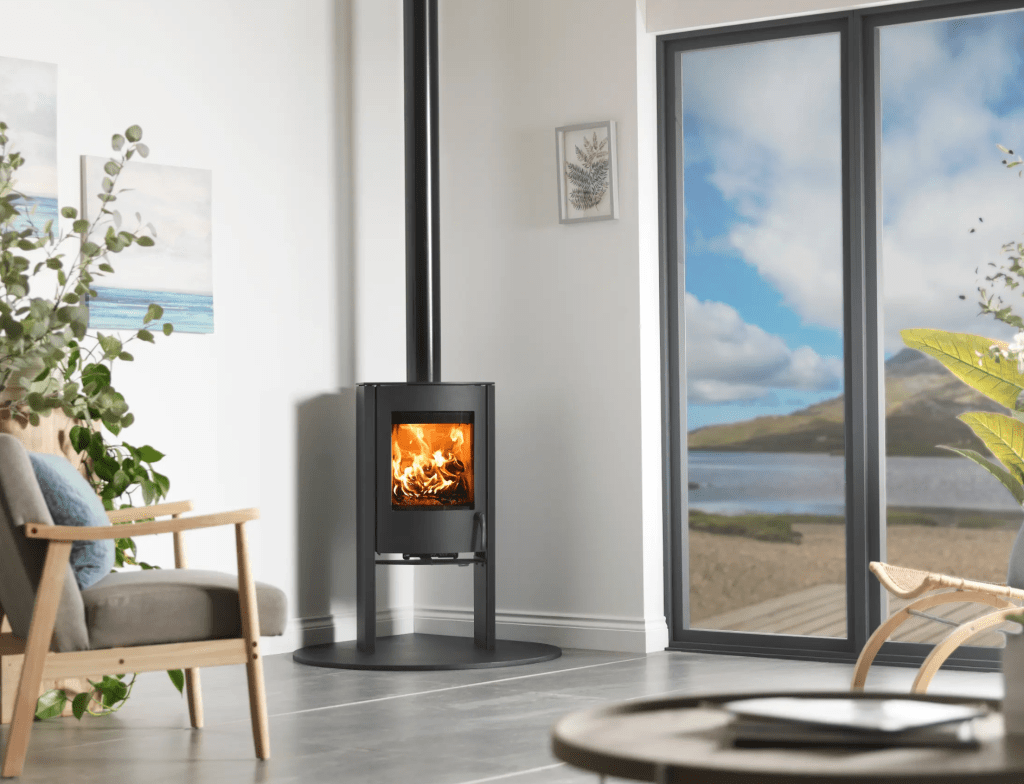
WOOD-BURNING STOVES

Pros:
1. Defra Approval for Smoke Control Areas:
Stoves with Defra approval can be installed in almost any location, meaning that where you live no longer needs to be a barrier when choosing if you can have a wood-burning stove.
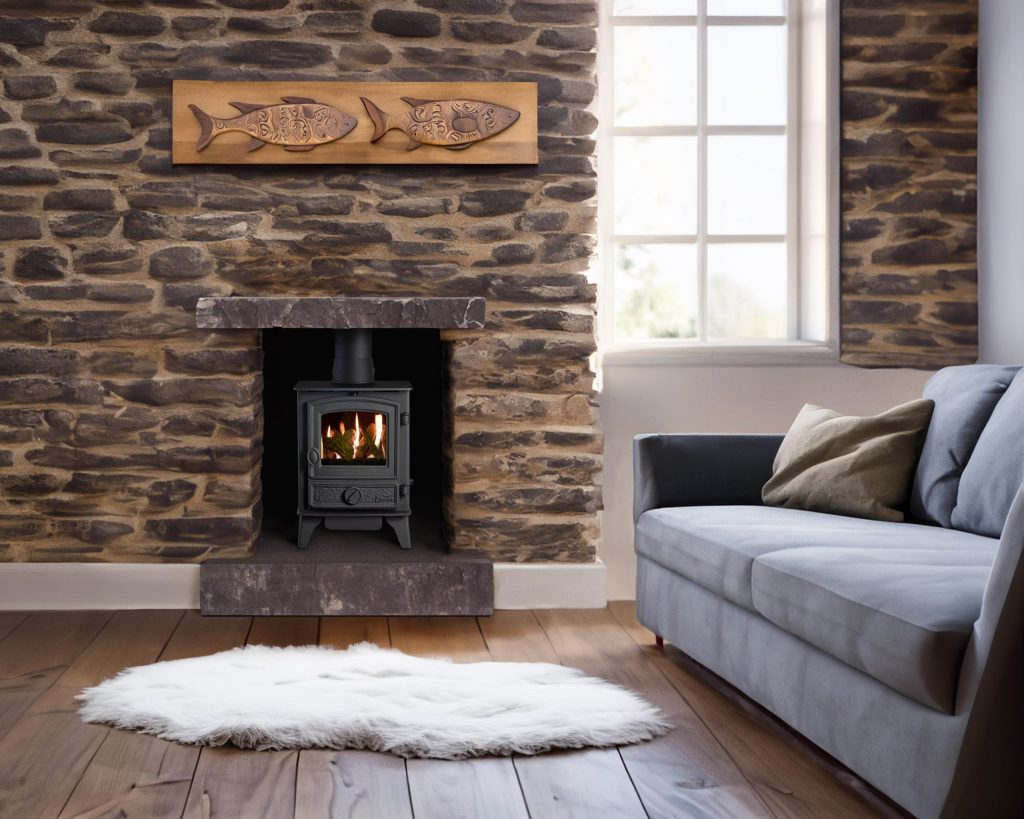
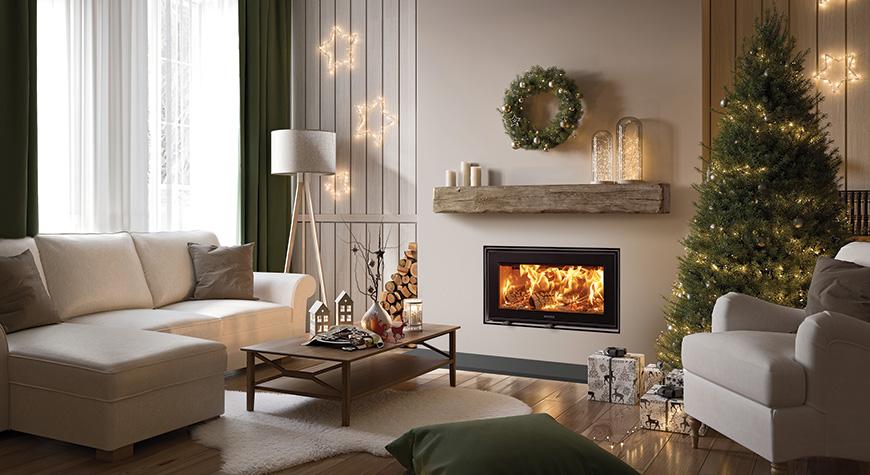
2. Diverse Designs:
Just like gas stoves, wood-burning stoves come in various sizes and styles, allowing you to find the perfect fit for your interior.
3. Efficient Heating:
Modern wood burners are efficient in heating. With the addition of an eco-fan, they can circulate air effectively, warming more of the house.
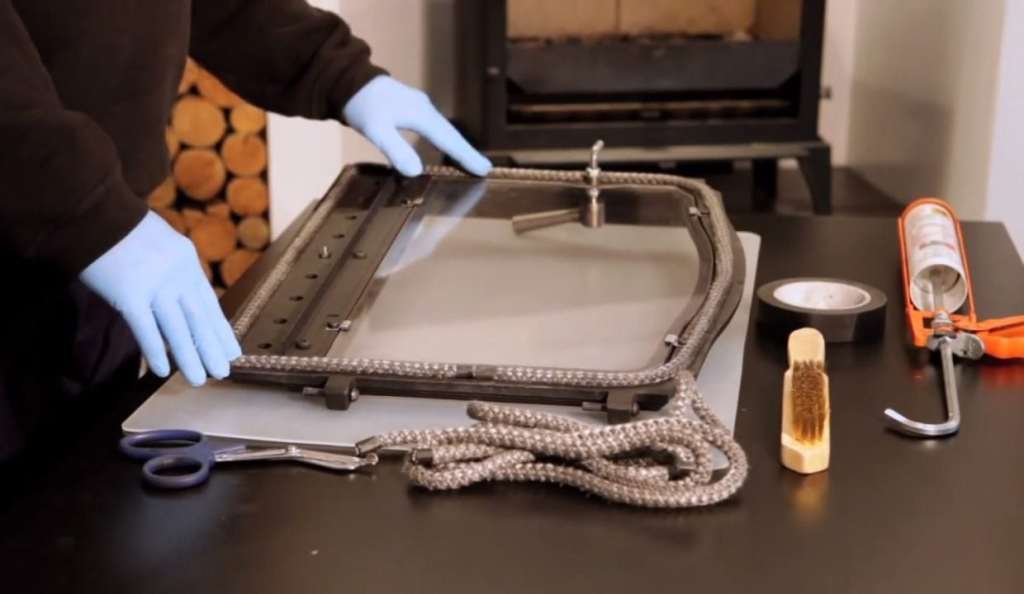
4. Ease of Setup and Operation:
Setting up and maintaining a fire is much easier with modern wood-burning stoves compared to the challenges of an open fire.
Cons:
1. Environmental Impact:
Burning wood still contributes to the environmental impact, albeit differently than fossil fuels.
2. Temperature Control:
Wood-burning stoves can get very hot. Care is required to prevent risks, especially if you have young children or pets.
3. Potential for Higher Operating Costs:
The cost of wood and its delivery may make wood-burning stoves more expensive to run, especially if you don’t have the space to buy in bulk.
4. Log Storage Space and Time Investment:
Storing logs requires space, and the time investment to start and heat up a fire may be more substantial compared to the instant gratification of a gas stove.
In the end, the choice between a gas stove and a wood-burning stove depends on your lifestyle, heating needs, and personal preferences. Whether you lean toward the instant warmth of gas or the classic charm of wood, each option has its unique appeal.